![本站架站紀錄_第五篇]()
本站架站紀錄_第五篇
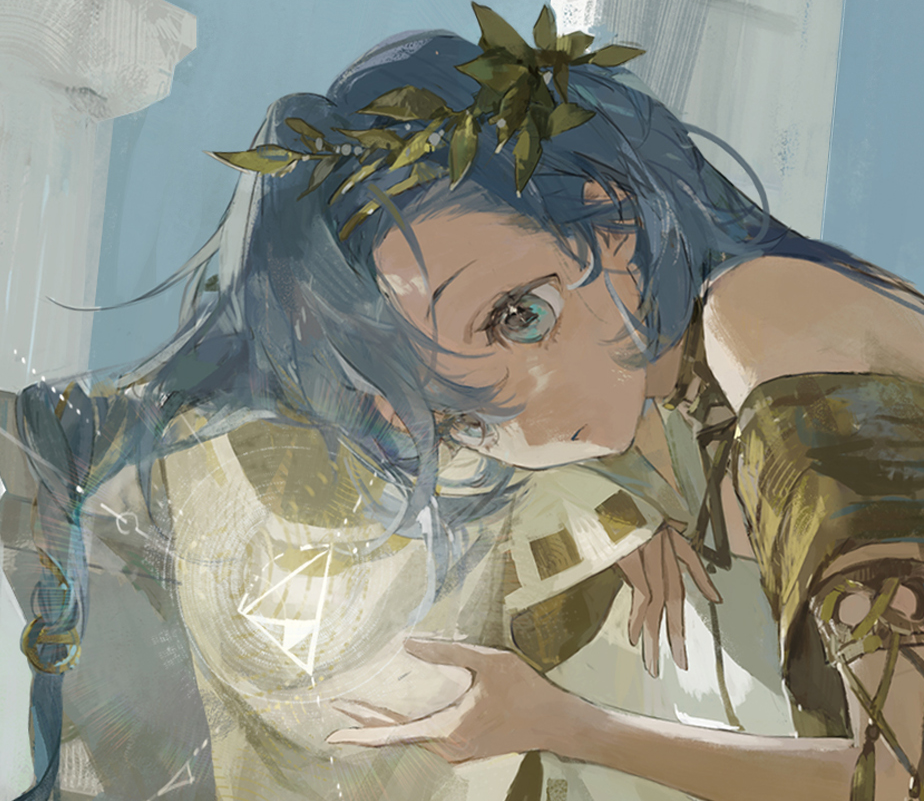
新增網站旅伴(看板娘/郎)。
……搞了四天,一直在失敗的路上。自己也是真蠢,沒先搞懂版本問題。
原本想說把踩坑過程也記錄下來,但總共搞了四天,時間一長也懶得紀錄了,因此這邊就只寫最後怎麼成功設定的。
看了網路上好多的紀錄,結果一樣的坑(版本、檔案等等問題)又踩下去也真是笨的沒誰了。
先放我看過的參考網站,因為每個人的方式都不太一樣,或許其他方式你就用得上。
- Live2dRender
- live2d-widget
- Live2D Widget
- 在Hexo博客上添加本地Live 2D模型
- 日记–无法成功的看板娘
本次所使用成功插件: OhMyLive2D
你可以跟著指南 進行安裝。
1
| npm install oh-my-live2d
|
安裝完後是配置 的部分。
首先先準備好你要的看板娘,初期我是使用網路上的公開免費模型進行配置。
下載完後放到souce內,如果你有很多個模型建議多建立一層資料夾。
- 然後打開你的
_config加入:1
2
3
4
5
6
7
8
9
10
11
12
13
14
15
16
17
18
19
20
21
22
23
24
25
26
27
28
29
30
31
| OhMyLive2d:
enable: true
CDN: https://unpkg.com/oh-my-live2d
option:
# 模型位置,可選在網頁左右
dockedPosition: 'right'
# 使用手機瀏覽時是否開啟模型(手機瀏覽打開的話加載會慢很多,建議關掉)
mobileDisplay: false
# 開始設定模型
models:
- name: '填入你的模型名稱'
# 使用你剛剛放模型的路徑,我在souce底下新建立一個live2d_models的資料夾。
path: [ /live2d_models/v1a4_306601_37/v1a4_306601_37.model3.json ]
# 模型位置(靠左還是靠右)
position: [-10, 20]
# 模型鏡頭位置(鏡頭照過去的位置,往上就是照頭,往下就是照腳)
anchor: [0.1, -0.4]
# 模型的縮放比例
scale: 0.18
# 模型預設在網頁占比大小
stageStyle:
width: 350
height: 350
# 手機模式的位置,如果沒有開啟手機瀏覽的話可以刪掉
mobilePosition: [-10, 23]
mobileScale: 0.1
mobileStageStyle:
width: 180
height: 166
# 模型預設動作
motionPreloadStrategy: ALL
|
- 有想要用的參數可以參考:模型選項
如果你有多個模型就一樣複製上面的配置,更改name跟路徑即可。
可自己更改的地方:MENU菜單 、看板娘講的話tips 、最右邊的模型狀態欄
所有配置與選項直接參考上面的網站即可,這邊就不贅述了。
寫法都跟我上面的models一樣,要注意的是縮排問題。
這邊紀錄一下初始模型的官方重定位。
由於meun上最底下的按鈕還是倒回舊域名,因此我先加了一個重導向設置。
不過在模型更改時會重新渲染變回舊域名,因此這個重導向只有在剛進網站時的第一個模型出現時適用。
1
2
3
4
5
6
7
8
9
10
11
12
13
14
15
16
17
18
19
20
21
22
23
24
25
26
27
28
29
30
31
32
33
34
35
36
37
38
39
40
41
42
43
44
45
46
47
48
49
50
51
52
53
54
55
56
57
58
59
60
61
62
63
64
65
66
67
68
69
70
71
72
73
74
75
76
77
78
| live2d-custom.js
(function () {
// 等待外掛把 #oml2d-menus 渲染出來再 patch
function waitFor(sel, cb, timeout = 10000) {
const t0 = Date.now();
(function loop() {
const el = document.querySelector(sel);
if (el) return cb(el);
if (Date.now() - t0 > timeout) return; // 超時就放棄
requestAnimationFrame(loop);
})();
}
window.addEventListener('load', function () {
// 1) 覆蓋 info 動作(把舊網址改成新站)
try {
if (window.OML2D && window.OML2D.MenusActions) {
window.OML2D.MenusActions.info = () => {
window.open('https://oml2d.hacxy.cn/', '_blank');
};
}
} catch (e) {}
// 2) 等選單出來後,直接改 info 按鈕的點擊事件(雙保險)
waitFor('#oml2d-menus', function (menus) {
// 預設的按鈕 id 通常為:Sleep / SwitchTexture / SwitchModel / Info
const infoBtn =
menus.querySelector('#Info') ||
menus.querySelector('[data-action="info"]') ||
menus.querySelector('.oml2d-menus-item:last-child');
if (infoBtn) {
infoBtn.title = '關於 OML2D(新官網)';
infoBtn.addEventListener('click', function (ev) {
ev.preventDefault();
ev.stopPropagation();
window.open('https://oml2d.hacxy.cn/', '_blank');
}, { capture: true });
}
// 3) 覆寫選單樣式
const css = `
/* 外層間距(每顆之間 10px) */
#oml2d-menus .oml2d-menus-item:not(:last-child) {
margin-bottom: 10px !important;
}
/* 每顆按鈕底色/邊框/文字色 */
#oml2d-menus .oml2d-menus-item {
width: 36px !important;
height: 36px !important;
border-radius: 50% !important;
#改成你自己喜歡的顏色,相關顏色說明可以參考之前的文章
background-color: rgba(101,153,179,0.25) !important; /* 霧藍青 */
border: 1px solid #BCAD76 !important; /* 花冠金 */
color: #485868 !important; /* 石板藍 */
display: flex !important;
justify-content: center !important;
align-items: center !important;
box-shadow: 0 2px 5px rgba(0,0,0,0.15) !important;
transition: all 0.25s ease !important;
}
/* hover 效果 */
#oml2d-menus .oml2d-menus-item:hover {
transform: scale(1.05) !important;
box-shadow: 0 0 8px #BCAD76AA !important;
color: #BCAD76 !important;
}
#oml2d-menus {
--btn-bg: #485868 !important;
}
`;
const styleEl = document.createElement('style');
styleEl.setAttribute('data-oml2d-patch', 'menus-style');
styleEl.textContent = css;
document.head.appendChild(styleEl);
});
});
})();
|
在layout.ejs中進行引用
1
| <script src="<%= url_for('/js/live2d-custom.js') %>"></script>
|
本站使用所有重返未來1999資源版權皆為原官方所有,本網站僅用於交流學習,禁止用於任何商業用途。